Are you wondering what WordPress is and want to give it a try without dealing with the publishing of it online? Developing “locally” is a great way to do this.
When it comes to WordPress, there are two different kinds:
- WordPress.com: This is the for-profit version that allows people to create websites without coding knowledge and has limited functionality.
- WordPress.org: This is the open-source version that allows web designers and developers to create advanced websites by having access to backend code for custom development.
There is a lot more to share about WordPress.com and WordPress.org. You can learn more in an article I wrote called “WordPress in a Nutshell.” For this tutorial, we’ll be setting up a WordPress.org installation locally on our computer.
What Does it Mean to Develop Locally?
To develop locally means to code on your “local” computer. It means we’re not publishing anything online. It’s just on your computer for only you to see. It’s a good practice for playing in a development environment that you can then push up to staging and production environments later.— Wait Maria, what are “environments”?
It can be complicated to understand at first, but having multiple website environments are a common practice. In this tutorial, we’ll be setting up one environment, a “Local” environment. But because it’s important to understand let’s take a slight steer off the walking path momentarily to explain development environments. You can understand this, I promise!
What are Website Environments?
When creating websites, it’s best practice to have different development environments. Each environment is a separate website installation. When you code in one environment, you test it and push up this code to merge into the second environment, and eventually up to the third. Think of it like pushing code through an assembly line.
Let’s list out a typical assembly line of website environments, where your code transfers from one website environment into the next, from local > staging > production:
- Local environment: This is where you freely practice code on your local computer. There isn’t great structure, and testing code and making mistakes here is welcome!
- Staging environment: This is where you build your website like it’s the real website to ensure all is working correctly. It’s to be as close of a match as possible to the real website in the production environment.
- Production environment: This is your live website that is published online for the internet to see.
Environments Explained without the Tech Jargon
Let’s think about website environments in a few non-techy ways:
It’s like playing soccer:
- Local: You independently practice skills freely at “home.”
- Staging: You scrimmage with your team as if it is a real game.
- Production: You play the real game for a crowd to see.
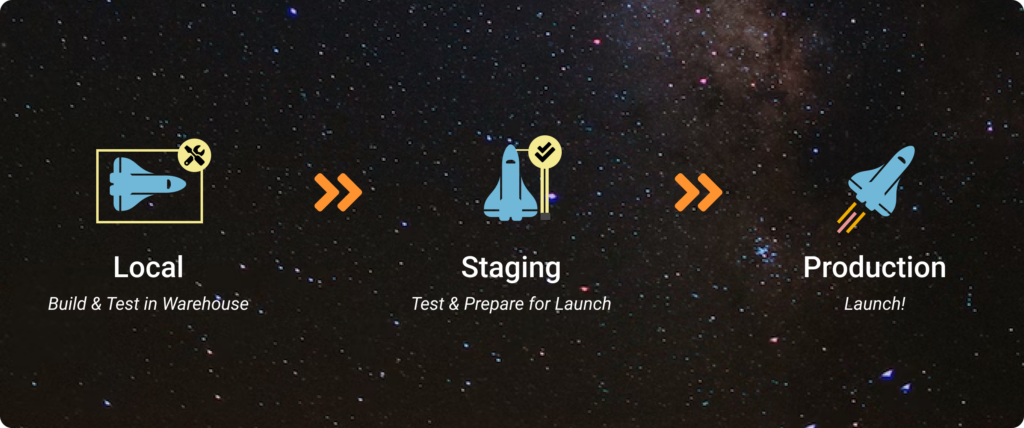
It’s like launching a rocket:
- Local: You build the rocket in a “warehouse.”
- Staging: You move the rocket to the launch pad.
- Production: You launch the rocket for a crowd to see.
Do I Need All Website Environments?
Every website project is a unique scenario, so sometimes multiple website environments isn’t always necessary, but having a local installation of your website is best practice at minimum. With a local website environment you can:
- Test code out without the worry of making mistakes for the world to see. You may want to test out new plugins, page layouts, design styles and more.
- Play around with WordPress to get a feel for what it’s like and experiment with ideas and any WordPress upgrades.
So enough talking about environments. Let’s get to the real purpose of this article, to set up a local website!
How to Create a Local WordPress Website
There are many ways to install WordPress on your computer locally, but I’m going to share with you the easiest possible way. We’re going to use a small application, called Local, to help us spin up new WordPress websites. So, let’s get to it!
Step 1: Install Local
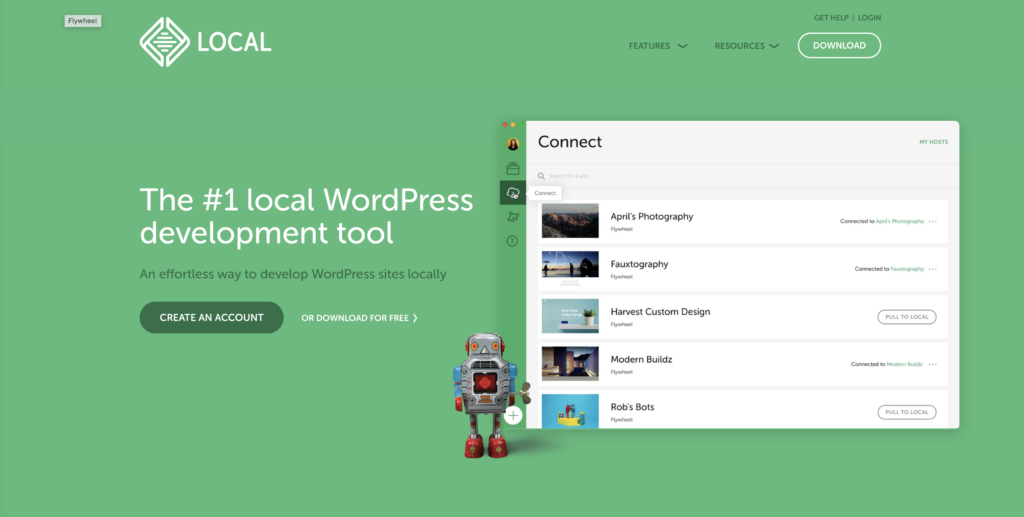
Local is a free application created by Flywheel by WP Engine (affiliate link*). We let Local create a server on our computer in order to work with WordPress. Because WordPress is made from a database and uses PHP code language, we need a server running for us to see and work with this dynamic setup. It’s like the car ignition that gets a car to start running. Local starts up a server to get our website running.
The first step is to download and install Local on your computer:
- Visit Local by Flywheel.
- Click “Download for free,” and go through the installation process for Windows or Mac.
Step 2: Spin Up a New Site in Local
Now that we have Local installed, we can spin up a new WordPress website.
- Open Local.
- Click the plus “+” button in the lower left corner of the app.
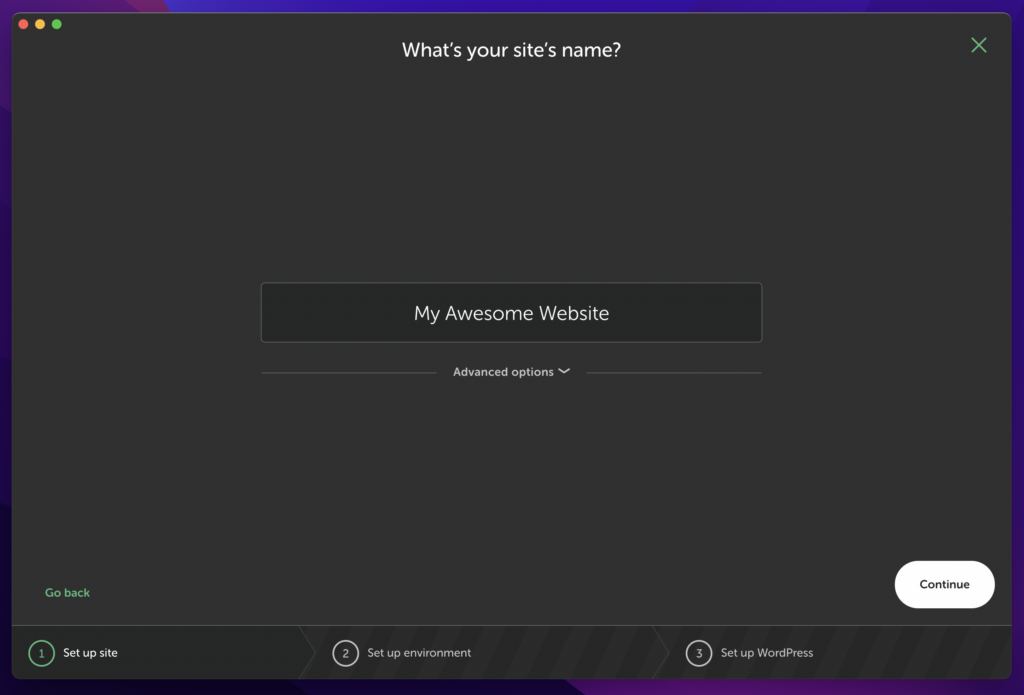
- “Create a new website,” and click continue.
- Type a name for your website, and click continue. If you look at the advanced options you’ll see the local site domain. This is an address you’ll type into your web browser to view your website. And you’ll see the folder location where all your files are located.
- Select the “Preferred” environment, and click continue. We don’t want to customize database and language configurations.
- Create a username and password. You’ll use this to login into your WordPress website.
- You can leave the WordPress email default or use your own. This is simply an email that is associated with your profile, and WordPress can email you updates. This is important for live websites, but we don’t need it for a local setup. You can change your profile settings inside WordPress at anytime.
- In the advanced settings, ensure “no” is selected. We are doing a single WordPress installation, not a multisite.
- Click continue.
- Local will now work for a minute to create your WordPress installation. How exciting!
Step 3: Open Up Your Website
Once your website is created, you’ll see it listed in your Local dashboard. You’ll also notice a “stop site” link in the upper righthand corner of the app. This is the “ignition” link to start your website engines (aka start your website server). You click this link to “stop site” or “start site” whenever you’re working on it. Your website will not work if you don’t start it up.
To View Your Website in a Browser:
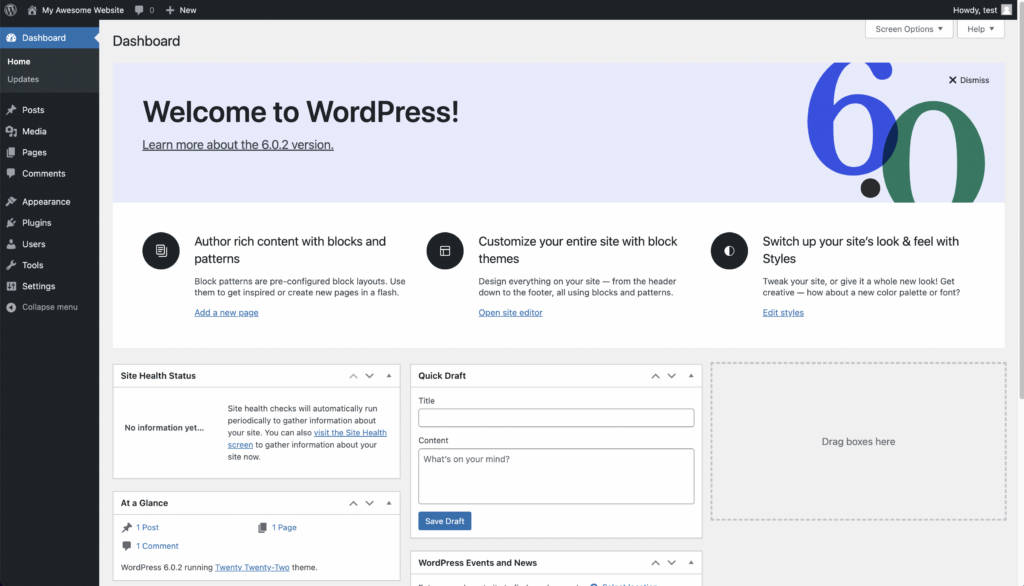
Want to see what your website looks like right now? Click the “Open site” button in the Local app. WordPress releases a new theme design every year. By default, your website will reflect this theme. Pretty cool, right?
To Access Your Website Admin:
Want to start using WordPress? Click the “WP Admin” button, and enter the username and password you used in the installation process.
And you’re in! Here you can change themes, add pages, create posts and more. I won’t delve into how to use the WordPress admin or code in its backend in this article, but follow BrandRoots for continued learning of WordPress and web design and development.
Step 4: Start Trying Things!
You now have a WordPress.org website installed on your local computer. Use this website to play around and explore WordPress. Create things. Don’t worry if you break things (that’s part of learning!). If you want to create a new website and start over, you can follow these steps again to spin up a new site.
There are so many feature advantages of using the Local app. This tutorial just taps into installing a new site, but you can learn more about Local on their website. Again, follow BrandRoots for future resources too.
Launching Your Website Live
Launching your website live for the world to see is a bit more complex, but if you use Flywheel or WP Engine web hosting, it takes just a few clicks to move your website to a staging or production environment. If you’re not familiar with web hosting, you can view my article to learn about the difference between domain and web hosting, the two things you need in order to launch a website live.
I personally use Flywheel by WP Engine (affiliate link*) for website hosting and recommend it for small WordPress websites. WP Engine, which owns Flywheel, is equally as great and especially for large websites. Because Flywheel created the Local app, it really helps streamline the publishing process; but you need to assess your situation and choose the hosting service best for you.
In the course of just a few minutes you can spin up a full WordPress website on your local computer to explore, build and create at your heart’s desire. With Local you can spin up as many websites as you’d like, and it takes just a few clicks to start and stop a website from running.
WordPress continues to expand and add more functionality as it grows. The diversity of projects and products you can create with WordPress is nearly endless. Install a local site and have fun creating!
*Affiliate Disclosure: In full transparency, this is an affiliate link. This means I have a relationship with this organization, and if you click this link and then make a purchase, I will earn a commission. This does not add any cost to you. Do know that while I personally use the resources I share, they may not be a good fit for you. In addition, I don’t recommend you make any purchases unless it is within your budget and you truly feel it will benefit you and your goals.